Plastic Welding Guide For Tradespeople
The welding of plastic is a fundamental process that any flooring tradesperson should master to ensure customers are always left happy. The most commonly used plastic welding technique in the flooring industry is the use of a hot air weld gun.
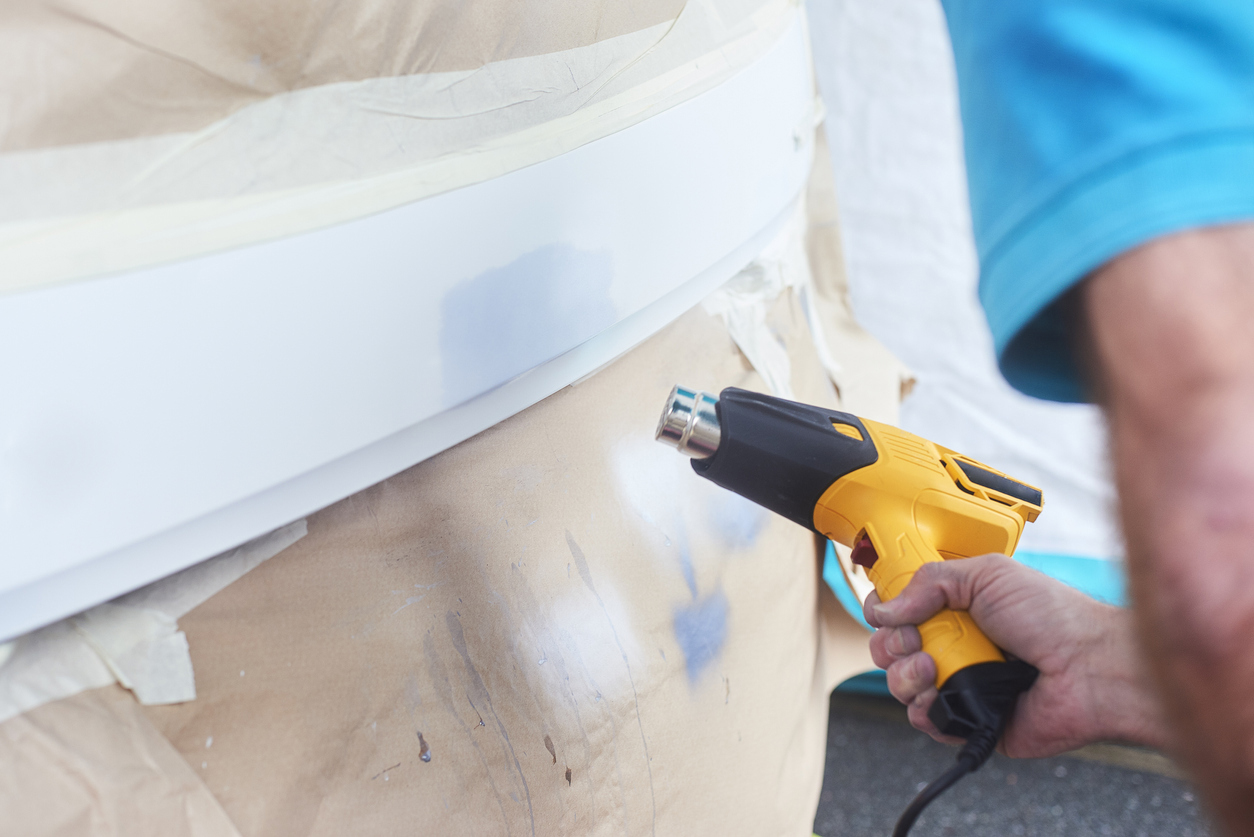
How does a hot air weld gun work?
Hot air weld guns work in a similar way to a conventional hair dryer, except they obviously should never be used to dry hair! A fan will draw air into the main compartment of the tool, across an electric heating element and then out through the nozzle.
Hot air weld guns have multiple useful applications, including:
- Plastic welding
- Paint stripping
- Removing old wallpaper
- Heat shrink plastic tubing
- Shrink wrapping
- Paint drying
- Softening adhesives
For this guide, we will be looking specifically at the welding of plastic based materials, such as vinyl flooring.
Why use a hot air weld gun for plastic welding?
Hot air weld guns, also known as hot air blowers or air heaters, are the tool of choice for plastic welding thanks largely to their exceptional portability and diverse range of applications.
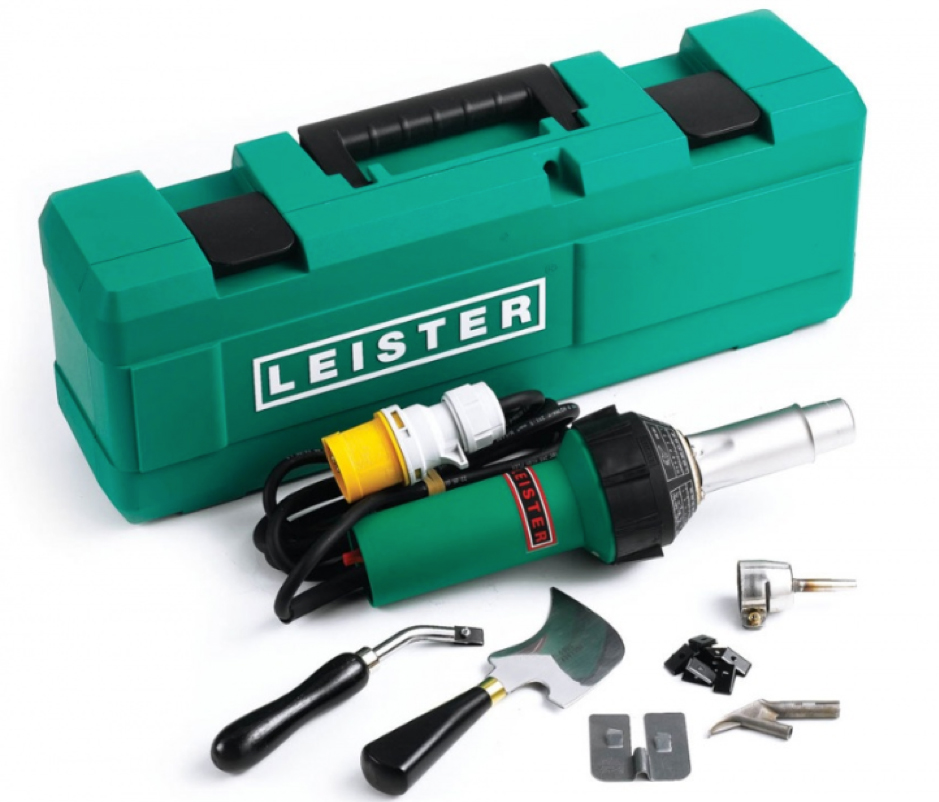
For the following guide, we will be looking at the Leister TRIAC ST and Steinel Professional range of tools. The instructions below will have a lot in common with other similar plastic welding tools; however, you should always consult the manual and follow any instructions that came with your tool closely.
What do you need for plastic welding?
Plastic welding using a hot air weld gun is a simple and easy process that requires just a handful of tools and accessories to complete.
- A hot air weld gun
- P-Type groover
- Standard nozzle
- Speed nozzle (optional but recommended)
- Plastic welding rods
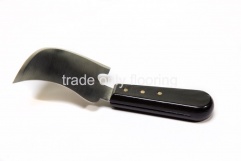
- Mozart knife
- Spatula/Quarter-moon knife
At Trade Only Flooring Supplies, most of this equipment can be purchased in one cost-effective kit.
Step 1: Setting up your welding gun
Firstly, we need to set your welding gun up for proper use.
- Ensure all required parts are present and accounted for
- Plug your hot air weld gun into an appropriate power outlet – consult your manual to check compatibility.
- If your weld gun has the function, adjust the heat output settings to ensure the correct heat is to be generated. For the Leister TRIAC ST, this means checking and setting the correct temperature using the potentiometer at the base of the handle. A potentiometer is a three-terminal resistor used to measure electric potential (voltage)
- Allow some time for the weld gun to heat up to the correct temperature, this can take 3-5 minutes depending on which model you are using.
Safety note: Always make sure the weld gun is left in a clear and open space, and not pointing in the direction of anything that could be damaged, including yourself!
Step 2: Tacking your two parts together before welding
- Tacking your two materials together helps hold them securely in place before the welding takes place.
- For this, you must use your tacking jet and standard nozzle fittings.
- With the nozzle held at an incline below 20 degrees, and the blade at the base of the groove, apply the heat slowly and evenly across the whole length of the joint.
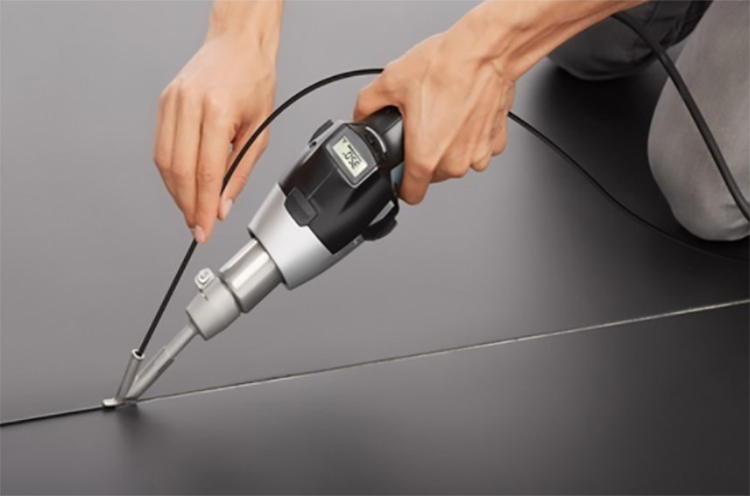
Step 3: Welding the plastic together
For the following steps, we are going to use vinyl flooring tiles as an example of the plastic welding process.
- Be sure to choose the correct nozzle for your application type – this will depend on angles, lengths and other properties of the plastic you are welding. Consult your manual if unsure.
- Ensure your two sections are held securely in place on the work surface or floor; for example, you could place them on to a layer of double-sided tape.
- Place the two sections so there is a very small gap between them.
- Using a mechanical or manual groover, create a groove between the two pieces along the small gap you just created. Run the groover straight down between the tiles to the end.
- Cut your plastic welding rod so it is a little longer than the length you wish to weld. Always allow for a bit of extra length, so you do not come up short and have to restart the process. It is better to have too much and have to trim than to have insufficient.
- Feed the welding rod into the weld gun nozzle and heat the vinyl and the welding rod along the groove. Ensure your weld gun is at an appropriate temperature before starting.
- Ensure a consistent speed. The sides of the welding rod should be melting as you go at the sides of the groove.
- Once you have reached the end, pull the gun away and pull the welding rod out of the nozzle of the gun.
- Turn your welding gun to zero and put to one side to cool off.
Step 4: Finishing touches
- Using a sharp knife, cut the excess welding rod from each end.
- Carefully drag a Mozart vinyl trimmer across the top of the joint, which will remove the majority of the excess material that will have formed a bump along the joint line.
- If any excess material is still there that you wish to get rid of, you can also use a spatula to clear what is left out of the joint.
What is pendulum welding?
Pendulum welding is a method that can be used to weld plastics together around tight corners or awkward angles.
How to pendulum weld plastics
- Use the standard nozzle of your hot air weld gun.
- Feed a plastic welding rod directly into the groove between the two parts.
- Ensure the hot air weld gun nozzle is around 5-10mm away from the weld base.
- Carefully weld the plastic into the groove, ensuring a consistent speed and distance throughout the process.
Speed welding with the Leister speed nozzle
The process of speed welding, as the name suggests, is a much faster way to weld plastics. It requires the Leister Speed Weld Nozzle to be applied to your hot air weld gun.
For this method, the plastic welding rod is fed into the specially designed nozzle, creating sufficient pressure for the weld and holding the nozzle steady for quicker movement.
Speed welding is a great way to save time and improve the consistency of your plastic welding results.
Can we assist you?
If you have any questions about the products or methods outlined here, or are interested in making a product enquiry, please feel free to contact us and we will get back to you as soon as we can.
Guide last updated November 20th 2018