Carpet Stretching: A Step-by-step Guide
A well-chosen carpet makes a house a home, but a loose fitted or lumpy carpet is unsightly and a potential tripping hazard. It is important that your carpets fit snugly wherever they are installed. Carpet stretching is a simple and easy solution to this, and it can be done by both trade professionals, as well as DIY homeowners.
What do you need to stretch a carpet?
Carpet stretching requires a few items to be done properly, these are:
- Flat headed screwdriver
- Hammer
- Knee kicker
- Carpet knife

1. Remove all items and clean the carpet
First, you should make sure to remove all items placed on your carpet in the area you need to stretch; this includes sofas, furniture, plants and anything else that may get in the way.
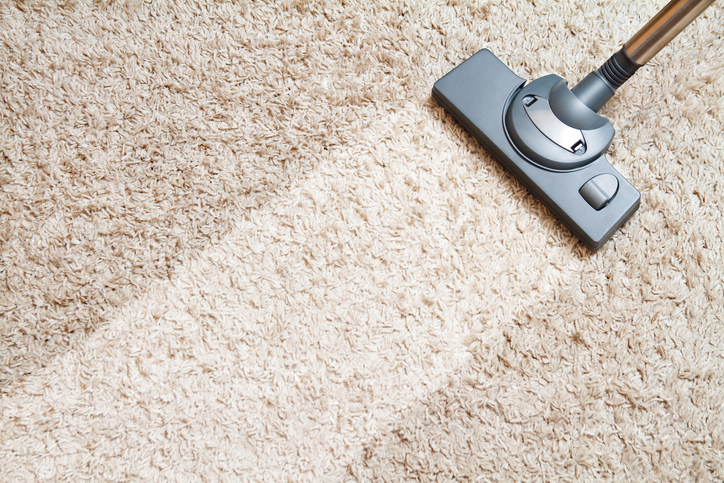
You should also take this opportunity to thoroughly vacuum and shampoo your carpet – as you may as well keep it clean and tidy as you go.
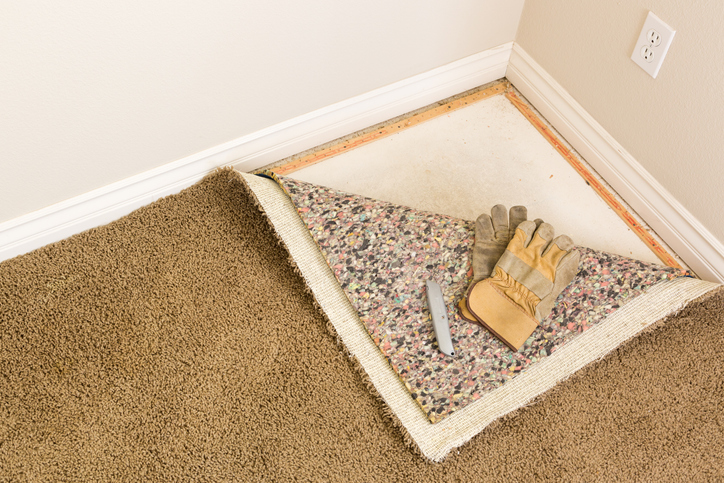
2. Peel carpet back from edges
Your carpet then needs to be peeled back from the edges where it will currently be held in place by tack strips. This must be done carefully so as not to damage the carpet. Use a pair of pliers to gently free your carpet from the tack strip. Eventually, you will be able to grab an edge of the carpet and gently pull it away from the wall.

Important
Do not pull too hard, as this may damage the carpet fibres. You must also do this one corner at a time, as your carpet must be fixed in place at the opposite side to where you’re working.
Once the carpet is pulled back, check the underlay beneath the carpet you have moved – if there are tacks or staples in it, you can remove these with pliers or a flat head screwdriver and then pull back the padding too.
3. Remove old tack strips
Once your carpet and underlay are away from the edge, you can start removing the tack strip. Using a hammer and pry bar or flat head screwdriver, pry it away from the floor. Once you have removed the strips, put them to one side so they are out of the way – be especially careful of exposed nails, and wear protective gloves.
4. Clean and mend floor
Once you have exposed the floor, you will need to give it a good clean and ensure there is no damage or loose boards. Any loose floorboards should be secured, and any high areas should be sanded down to make sure the surface is even.
Check the floor for any loose nails, splinters or other foreign bodies and make sure these are all removed before proceeding with anything else. Finally, give the floor a vacuum to remove any dirt, dust and small debris.
5. Install new tack strips/grippers
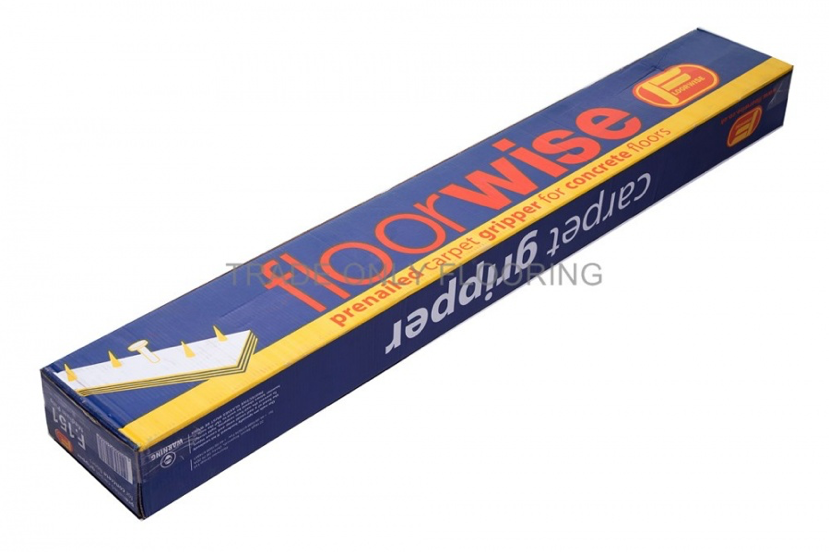
Your replacement tack strips will now need to be put into place around a quarter inch (7mm) away from the wall. The gripping nails must be pointed towards the wall. Use a hammer or nail punch to set the downward pointing nails into the floor.
Make sure you have sufficient gripper length to cover the entire perimeter. Ideally you should have a bit more in case you make a mistake or extras are required.
6. Replace carpet padding
Once your tack strips are in place, you can replace your underlay and carpet. To make sure each is the right size, use a carpet cutter or knife to trim it so it fits nicely along the strip. This can then be stapled to the floor next to the tack strip. We recommend one stable every 3 to 4 inches.
For the corners, we recommend cutting diagonally to make it easier to trim the underlay to the right shape. If your floor is large and you require more than one sheet of underlay, these can be fastened together using contact tape.
7. Laying the carpet back down
You are now ready to replace your carpet. The carpet should be laid back down over the underlay covering the floor.
If you are replacing with a new carpet, you must measure and cut it to the correct shape the same way you did with the padding.
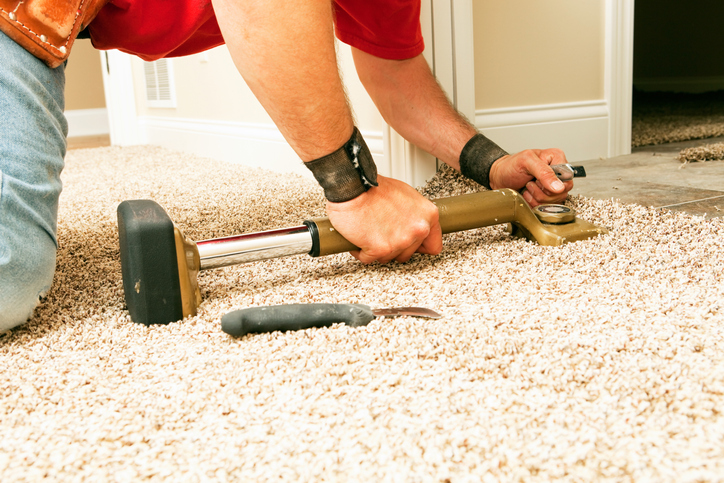
8. Stretching the carpet into place

Once the carpet has been laid back down, you can use a carpet stretcher or knee kicker to stretch it in to shape.
How to stretch a carpet using a knee kicker
- Place the head of the knee kicker around 6 to 8 inches away from the wall
- Press it down firmly
- Use your leg to stretch it towards the wall
- Despite being called a knee kicker, you should push with the area just above your kneecap for stretching, not your knee cap only.
To do this with a power stretcher, simply place the base against the wall where the carpet is fixed, then press down on the lever to smooth out the wrinkles.
9. Trim any excess carpet
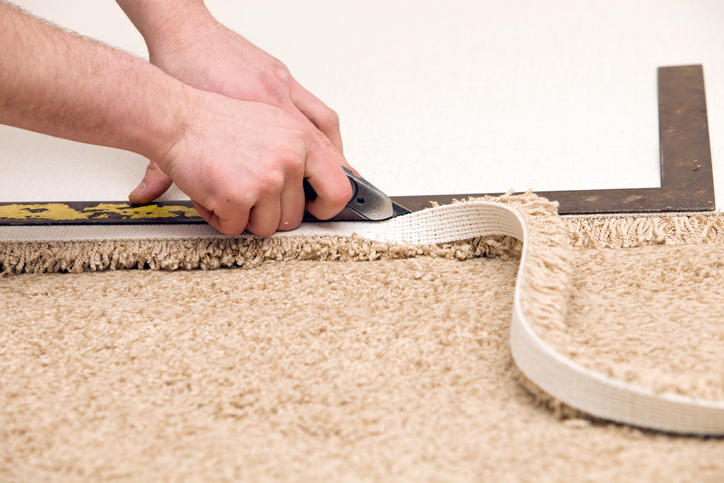
Once your carpet is firmly in place, you may find there is too much carpet remaining at a particular side, beyond the tack strips. If this happens, you can simply use your carpet knife or cutter to remove the excess carpet. Be very careful not to over-trim, as that is irreversible. Instead, start by trimming small sections and continue gradually.
Need any assistance?
We hope these steps have been helpful for you, and we wish you the best of luck with your work. If you would like any further assistance in using any of the tools listed here, please feel free to get in touch and our team of experts will be more than happy to help.